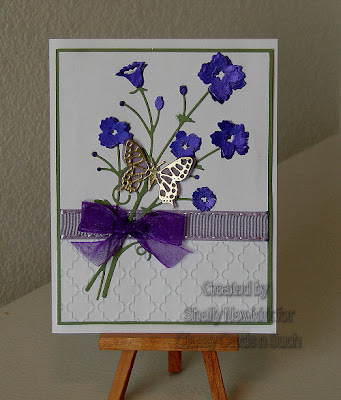
Today our guest designer, Shelly has a beautiful card using a few of the products available at Classy Cards 'n Such.
Shelly also included a step by step description so you can see how easily her card went together.
Mini Fanciful Flourish by
1. Attach designer paper to white card base.
2. Apply archival jet black with a brayer to the highly detailed stamp.
3. Heat set ink.
4. Color lightly with chalks.
5. Die cut a frame with an oval within an
oval. Leaving dies attached to paper, run through the die cut machine
again using the soft rubber mat to emboss.
6. Attach flat pieces from paper egg carton to
back of oval frame to create a 3-D effect.
7. Trim mother and child image to fit under
frame aperture and attach to card base.
8. Carefully position frame over image and glue
down.
9. Cut or punch several sizes of flowers. Shape using Paper
Blossoms stylus and Paper Blossoms Molding Mat.
10. Using a Viva
Pearl Pen, place a dot in the center of each flower. (allow a few hours to dry).
11. Die cut three Cheery
Lynn Designs Mini Fanciful Flourish.
12. Attach two of the flourishes along one side
of the frame.
13. Artistically arrange flowers on flourishes.
14. Now cut apart the third flourish and attach
in bare spots.


Pin It
This would be a great card for Christmas!
Click any of the gold links to see or purchase the products Shelly used.
Click any of the gold links to see or purchase the products Shelly used.
Thanks for stopping by!!! Until next time...


